Setting up your account
The first time you log into Better Proposals and see a blank dashboard, it may seem like you’ve got your work cut out for you. But what if we told you that you can get 70% of the job done only by setting up the basics of your account?
Now, if you’ve just signed up, our setup guide should help you sort out the basics in approximately 90 seconds. But if you skipped the guide and you’re now regretting the decision of exploring on your own, we’ve got you covered.
Basic brand settings
To start setting up, select Settings from the sidebar. Once you’re there, expand Setup to navigate to Branding. Start by editing the company name and how you want your brand to be displayed to your clients, pick your language, and add your brand colors.

Next, go to Sidebar and click the Browse for Logo button to add your company logo. As a rule of thumb, it’s best to use a transparent PNG with a minimum width of 400px. You will see a preview of what the logo will look like on your proposals on the right. In addition to that, you can also choose the navigation bar color from the same screen. It’s white with black text by default, but you can also invert it or completely customize your navigation.
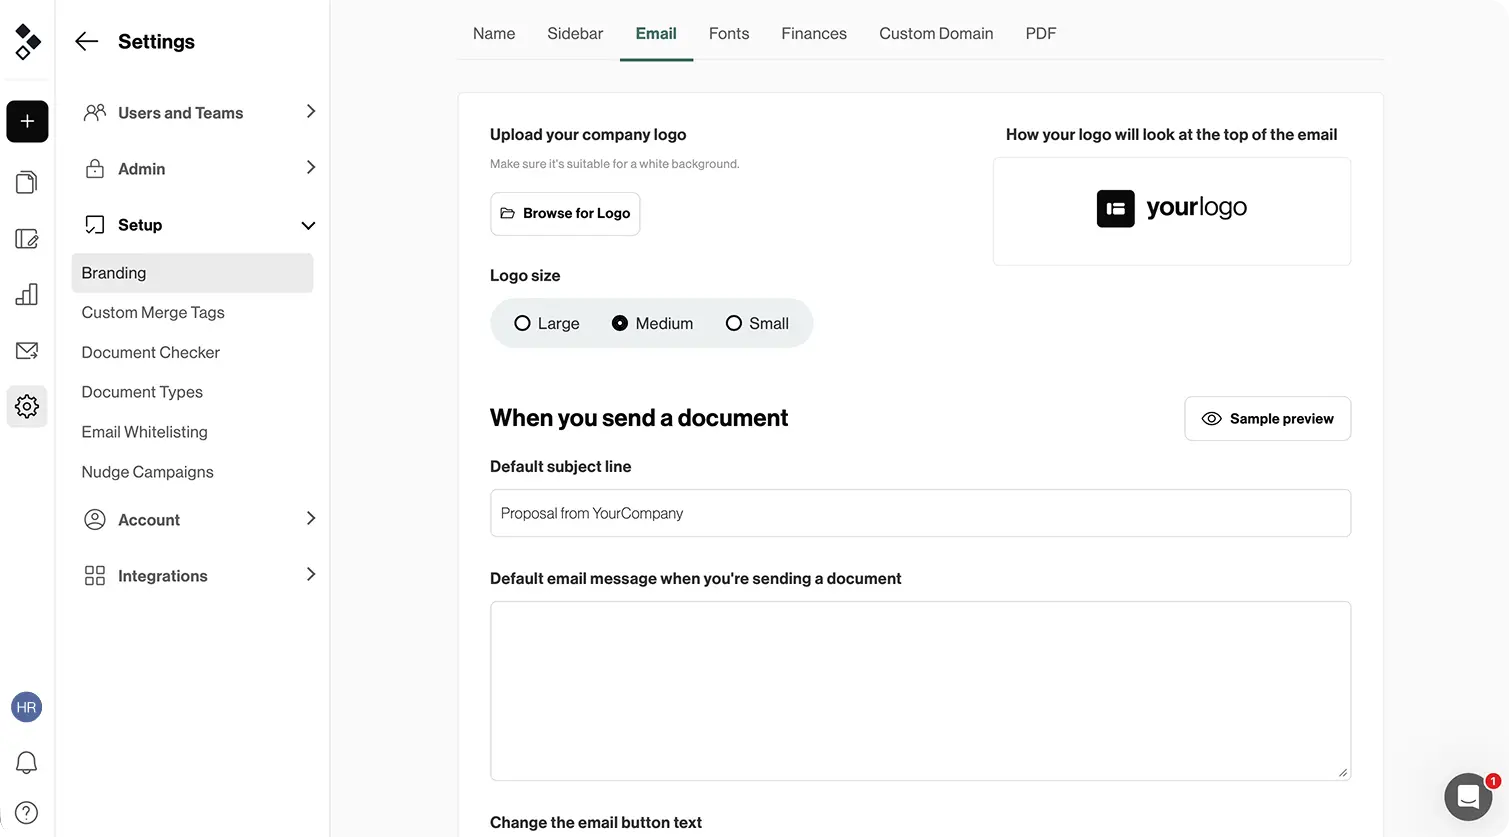
Since branding is more than the logo, what we’ve got next are the Email settings. From here, you can control what happens when your proposals are sent and signed. Start by uploading a logo that’s suitable for a white background and filling in the default subject line and body for emails when you send out proposals. The default email that your clients will see when they sign is already there, but you can customize that one as well.
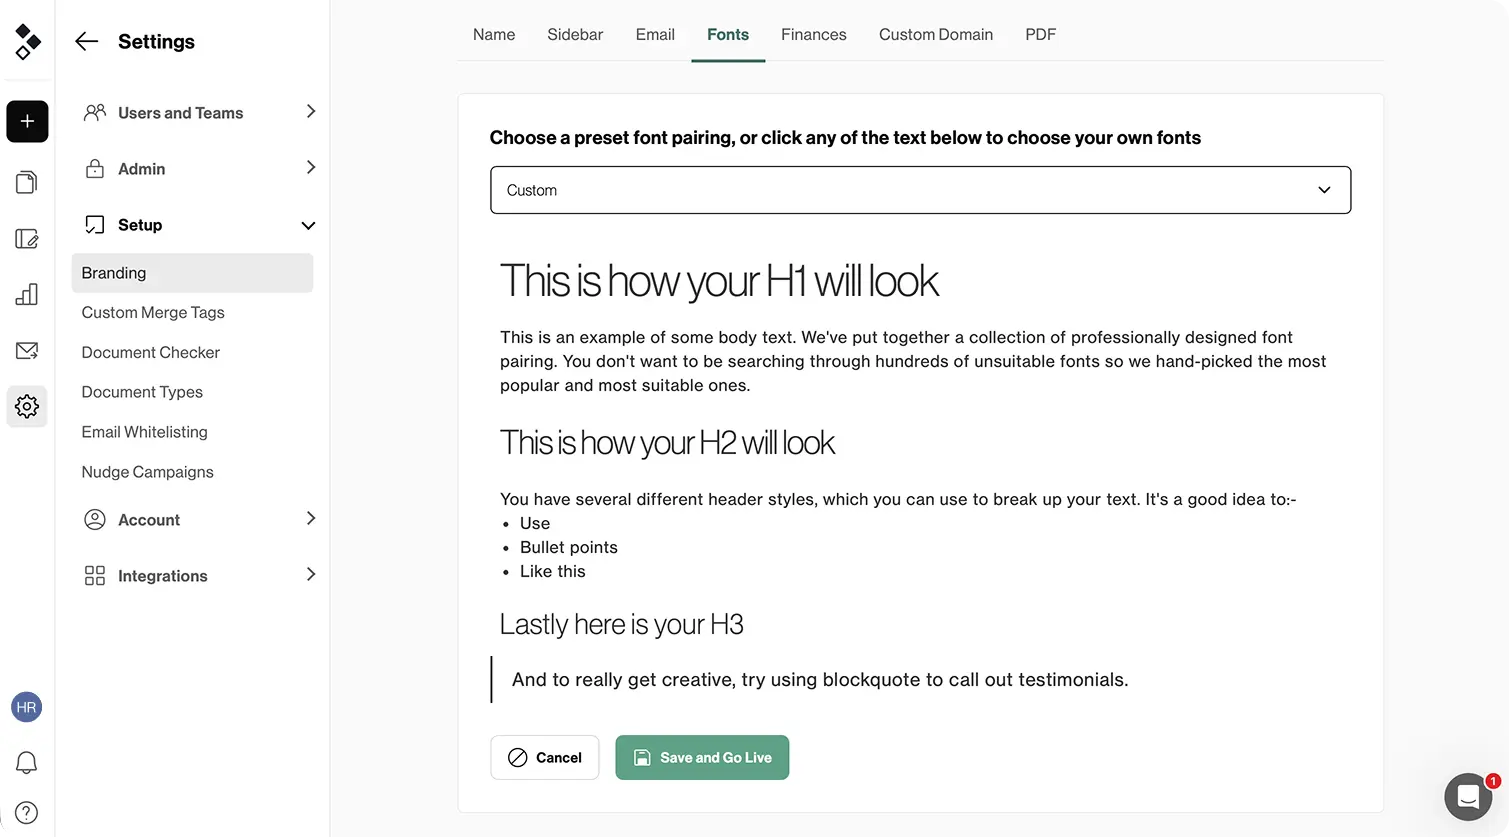
When it comes to Fonts, you’ll only need to set them up once and they’ll apply to all your proposals. You can either choose one of the pairings from the dropdown menu or customize the presets to make your own.
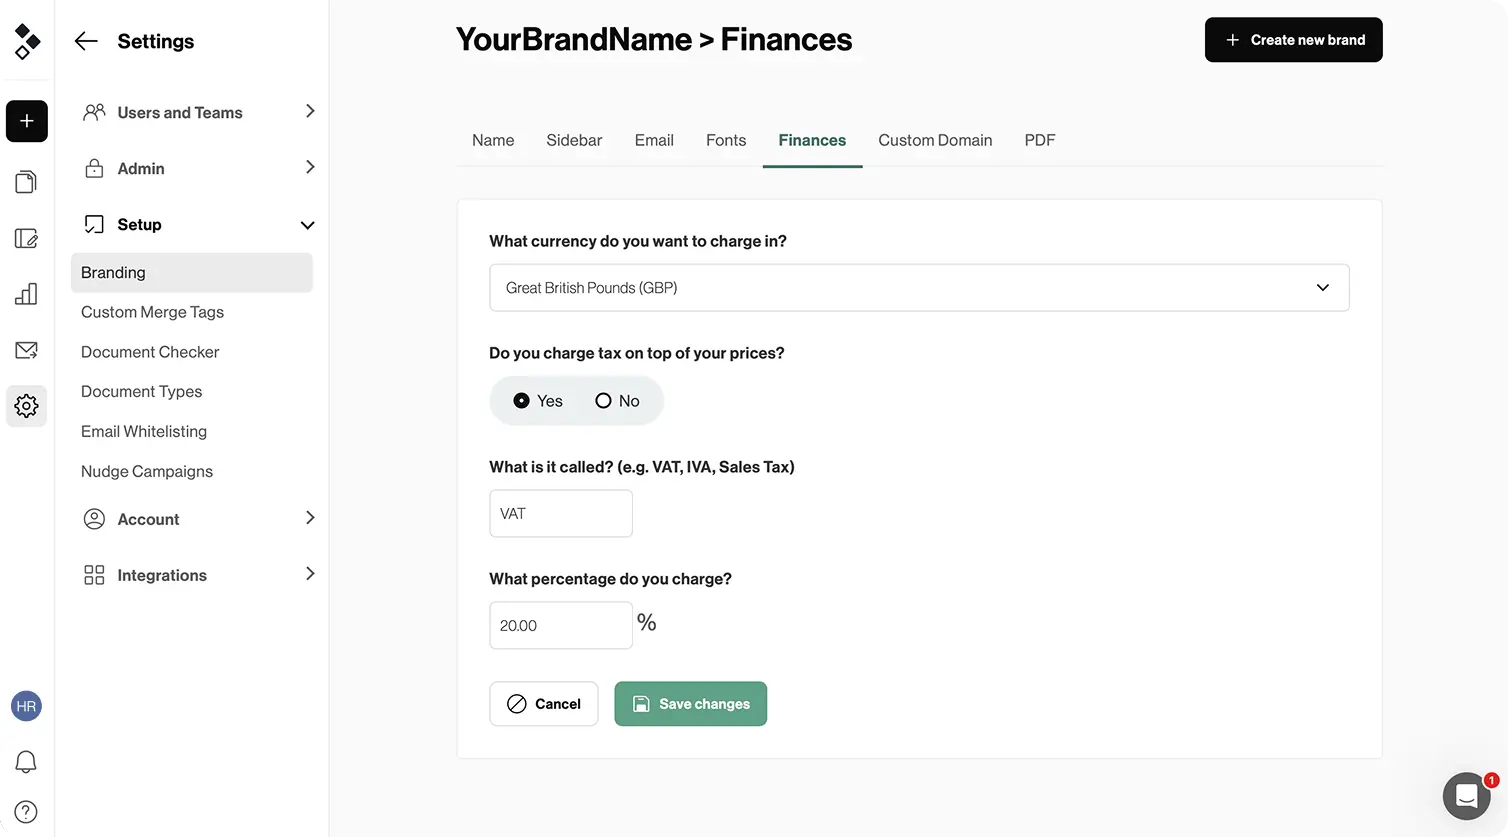
Next, head over to the Finances section and set up your currency and taxes. It’s as easy as picking your currency from a dropdown menu.
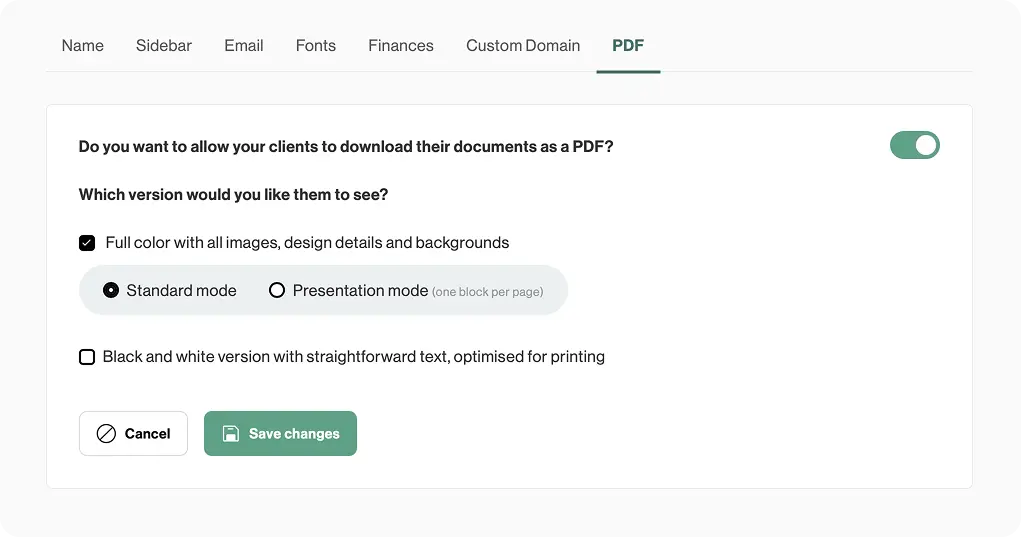
And while we’re not big on PDFs, we understand your clients might want them. If that’s the case, head over to the PDF section to control what the PDFs will look like once downloaded. If you don’t want your clients to be able to download a PDF version of your proposal, simply turn the option off.
Setting up your account
Since you want your proposals to end up in your client’s inbox, whitelisting the domain you send emails from is a good idea. However, note that the process involves either you or your web team knowing how to change your domain’s DNS. For this reason, we can only whitelist business domains, and not public ones such as gmail or yahoo. Now that we’ve got that out of the way, head over to our guide if you’re on one of our paid plans and whitelist that domain!
Custom domain settings
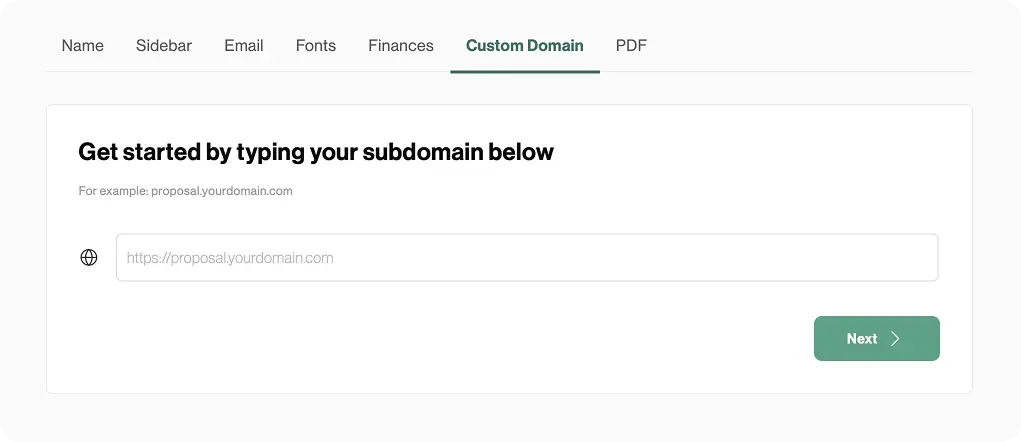
If you’re as big on customization as we are, you’ll be happy to hear that you can completely remove our domain from your proposals on our Premium and Enterprise plans. That way, you’ll look even more professional and your proposals will look as if they’re being sent from your own domain. To set that up, you’ll want to go to Settings, pick the brand you’re setting up the custom domain for, and navigate to the Custom Domain tab. You can find the steps you’ll need to take depending on the platform you’re using for your website here.
Beautifully designed templates in minutes
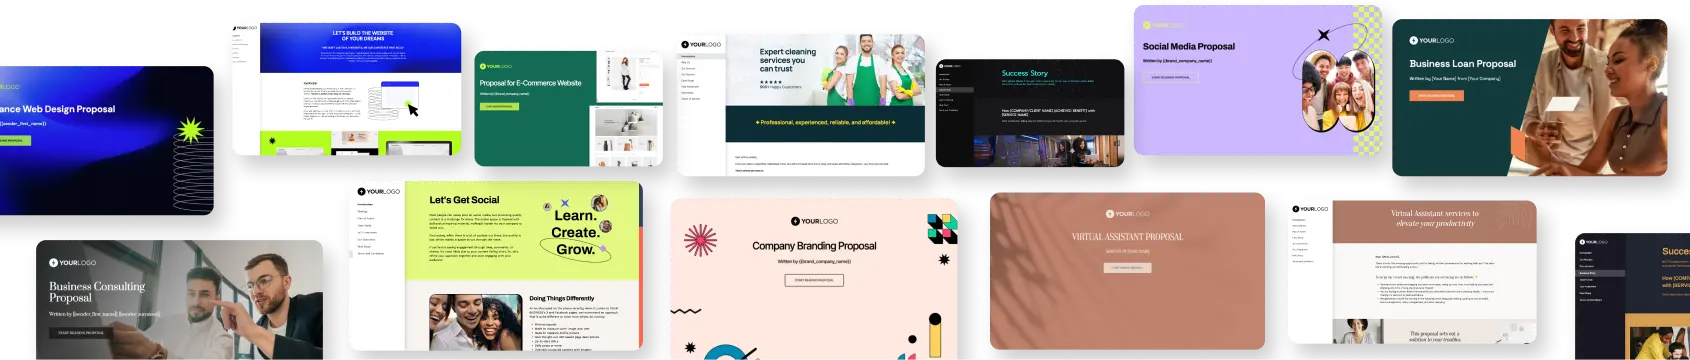
Now that you’ve gone through the basic account setup, it’s time for the fun part - templates. Click on your profile photo in the top right corner of the screen and head over to the Better Proposals Template Marketplace. We have more than 260 free pre-designed and pre-written templates you can choose from. Once you’ve browsed a bit and found the perfect match, simply add it to your account by clicking the Get this! button next to it. You can now edit and customize the template from your Templates list.
Another way to go about it is to create your own template from scratch or import a Word doc. Even if you’re not a designer, our Editor makes sure everything goes smoothly. What’s more, you can see the changes you’re making as you go, so there’s no need to worry about formatting changes once you refresh the page. All of the tweaks you make are saved live and the only thing you need to do is click on Save in the top right corner to finish editing once you’re done.
Pricing that aligns with your business
To save some more time while putting proposals together, you can also set up your products and services inside Better Proposals. Once again, you’ll want to navigate to Settings, but this time, click on Products and Services under Admin.
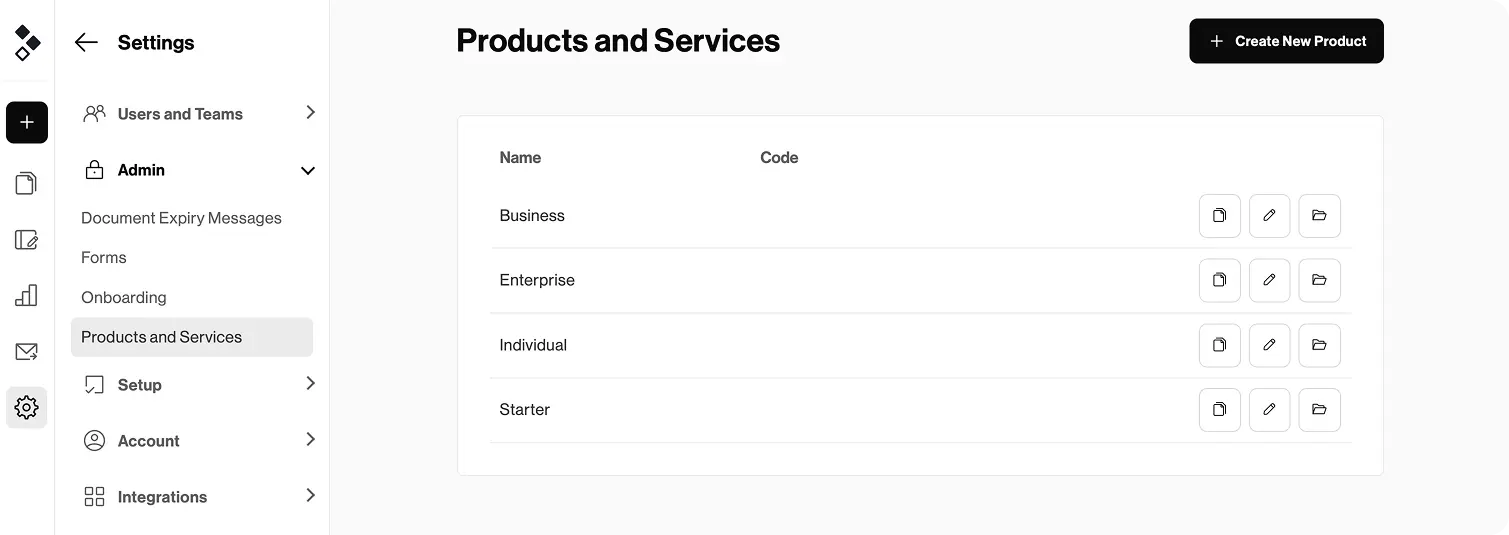
If you’ve just signed up, you’ll see a few product examples that we’ve added for you based on your industry. You can edit those by clicking on the pencil icon. To add more, click the Create New Product button in the upper right corner of the screen. Once you’ve done that, you’ll be able to add a product name and description. You’ll be able to pull those into your pricing tables so you don’t have to fill out the details all the time.
Note that you won’t be able to change the product names in the proposal pricing table, so try to keep them as generic as possible. You will be able to change the descriptions in each proposal, so that’s where you should add the details.
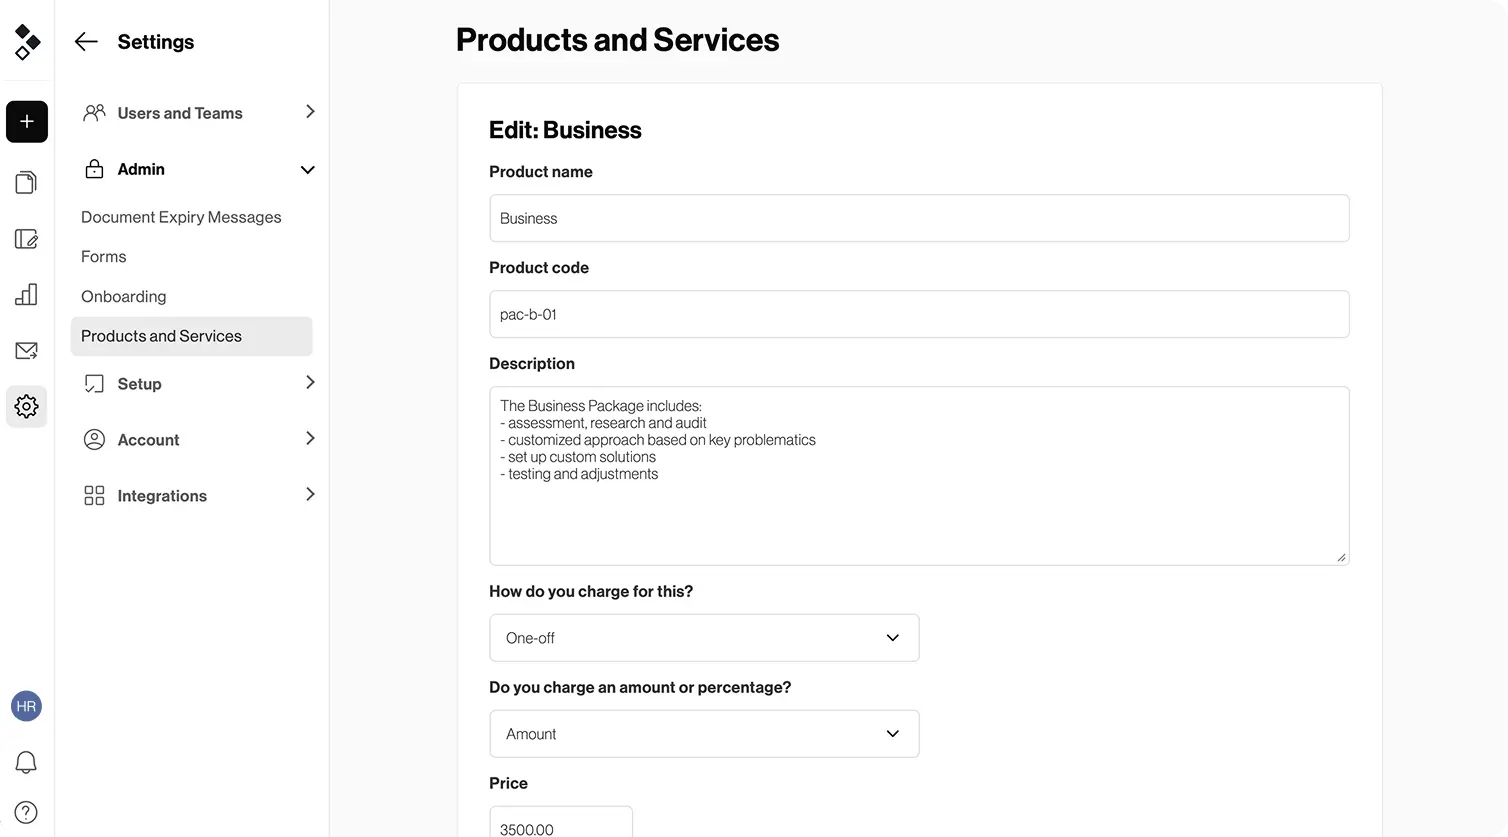
Once you’re happy with the product name and description, you’ll have to tell the system how you charge for it. The options are:
- One-off
- Monthly
- Quarterly
- Annually
Optional and choice items
With our interactive pricing tables, you can offer your clients optional services or give them a choice between more packages. If you want to offer optional add-ons next to the products you already agreed upon, simply add the product to the pricing table. Next, click on the Settings icon next to the add-on product in your pricing table and select Make this Optional. You can add as many optional items as you want, and your client will be able to pick none or all of them.
By default, the optional items will have a blank checkbox next to them, meaning your client will need to select them to add them to the total. Alternatively, you can make the optional item checkbox appear ticked, meaning your client will need to opt out instead of opt in. To do that, preview the proposal before sending and tick the optional items. When you close the proposal, these settings will be saved and the boxes will appear ticked to your client.
Choice items are great for businesses that offer different service packages or delivery options. The process of adding them is the same as above, except that you’ll want to select Make this a choice when you click on the Settings icon.
Keep in mind that, unlike with optional items, your client will be able to pick only one choice item in a pricing table. So, if you’re selling three different services with three different packages, you’ll need to have three separate pricing tables. You can find detailed information on setting those up here.
Applying discounts
When it comes to giving your clients discounts, there are two ways of doing it in Better Proposals: percentages and amounts. To add a discount to an item in your pricing table, simply click on the Settings icon next to the item and turn on the Add a discount option. In the dropdown, choose either Percentage or Amount, put in the numbers, and you’re done!
Integrate, integrate, integrate
With Better Proposals, you have over 40 integrations at your fingertips. From payments, CRM, project management, and live chat to Zapier, you’ll have a hard time not finding what you’re looking for. And the process of integrating couldn’t be easier if we tried. Simply hover over your profile picture and select Integrations. From there, you can browse by category, click on the integration you want, and you’ll be all set in a few minutes.

And if you get stuck...
We’re here for you, 24 hours a day. You can contact our support team by using the live chat on the bottom right of our website. Not to brag, but they do usually have all the answers you’ll need. And if you’re more of a do-it-yourself kind of person, no problem. Head over to our Help center - we’ve covered almost everything there is about using Better Proposals.